Did you know that you can easily monetize an Airtable database? Using a tool called Paytable, you can charge for access to one or more of your Airtable bases, either as a one-time fee or as a recurring subscription.
With Paytable, your Airtable shared view URLs are hidden, you can manage subscribers, charge for access using Stripe or Gumroad, and easily embed the widget into your site.
In this tutorial, you will learn how to set up Paytable with a curated resource in Airtable and embed your Paytable widget into a Carrd site.
Let's get started!
Step 1: Create or duplicate the Airtable database you are monetizing
With the Paytable widget, users get a preview of the resource you are offering. It's important to create a sample database so users can't access the complete resource without signing up or paying.
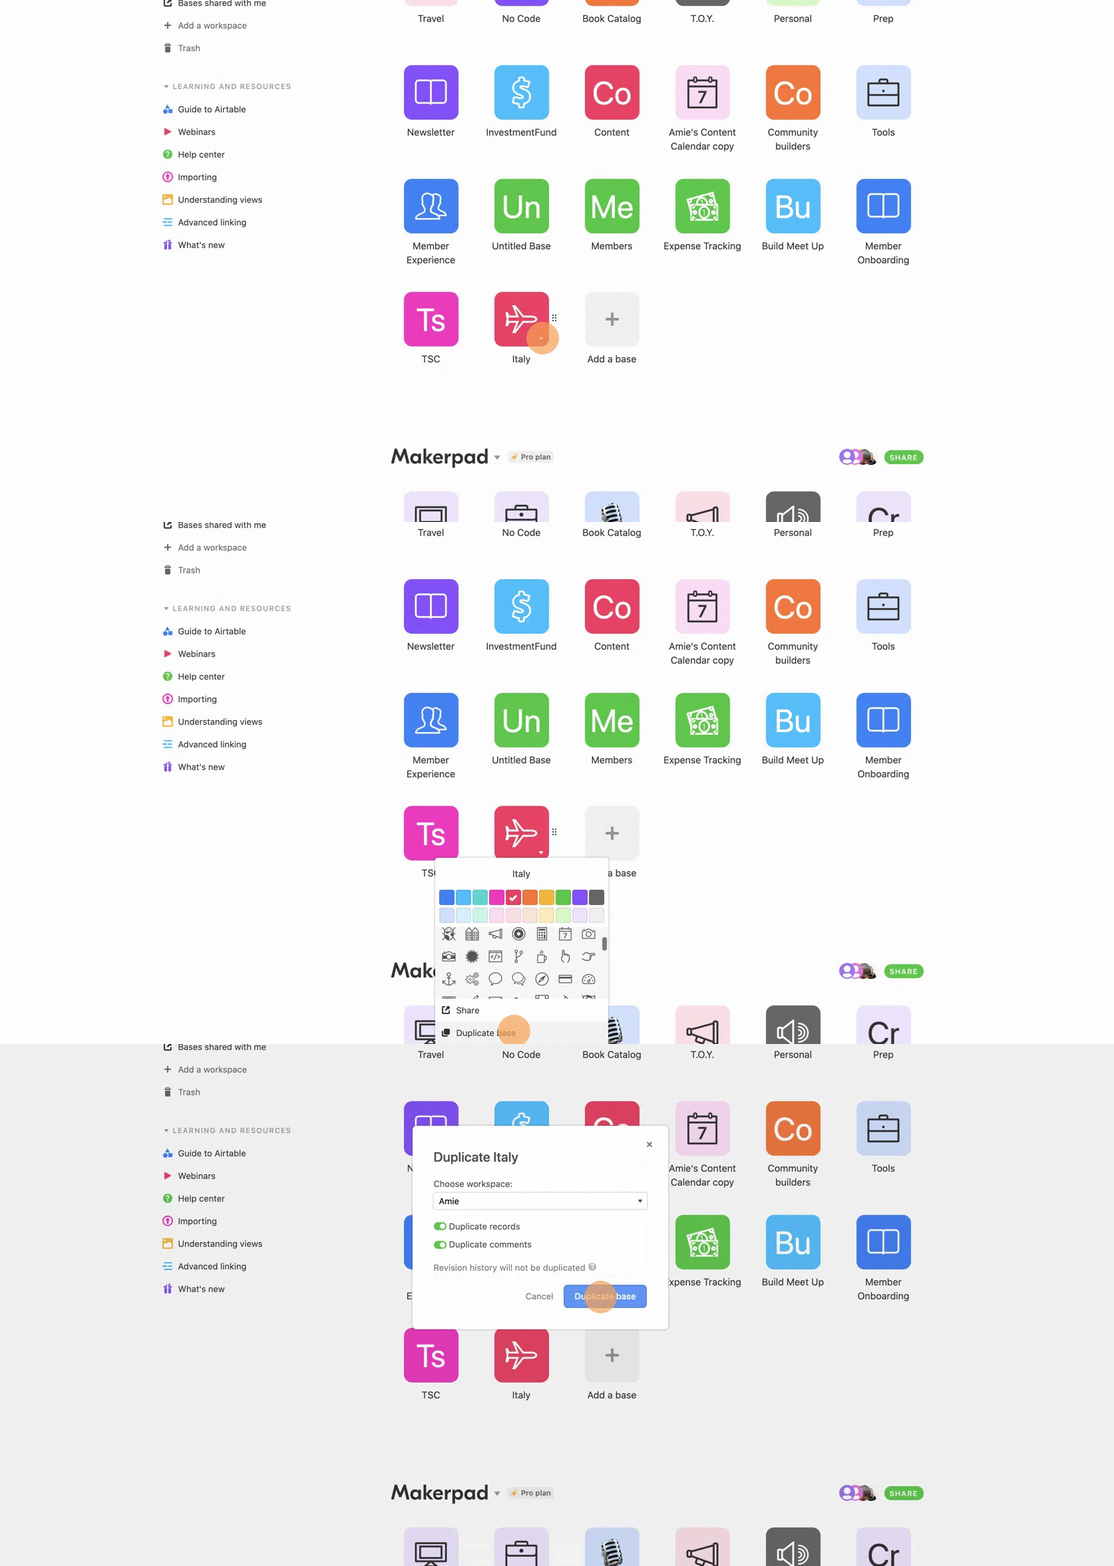
To do this, duplicate the Airtable base you will be offering. This will be your 'sample database'.
Within your sample database, remove most of the data in order to show a light preview of the actual Airtable base you are offering.

Step 2: Add a product in Paytable
Head into Paytable and click on 'Add a product' on the Dashboard or Products tab.
The first thing you will set up is the product widget. You can either use a Paytable product page, embed the widget on your site, or use direct links. For this tutorial, we will select 'Embed widget on your site.'
Next, grab your landing page url. We created a section on our Carrd site labeled #database so the URL we are entering here is our Carrd URL followed by '/#database.'
If you click 'Open embed settings' under this input field, you will find instructions for embedding the widget on site builders such as Webflow, Notion, and Carrd. Next, add a title, sub heading, and give your resource a price. You can either charge a one-time fee or set a recurring monthly or annual price. Then, you need to grab a shared view URL from your sample Airtable database. Toggle off 'Allow viewers to copy data out of this view'. Paste this URL into the sample database field in Paytable. Hit 'Save changes.'
.gif)
Step 3: Configure your Paytable reader settings
Now it is time to configure your Paytable reader settings for your members.
We are going to embed our Paytable widget into Carrd so select 'Embed reader on your site' and enter your site URL. Write a welcome message for your members. You can then set a banner image and a color for your background overlay to match the look and feel of your site.
Next, grab the share URL from your non-sample Airtable database. Paste that URL into the main database field. On this page, you can also add additional sources or digital downloads.
Once this is to your liking, hit 'Save changes.'
.gif)
Step 4: Connect to Stripe or Gumroad
With Paytable, you have two options for collecting payment: Stripe or Gumroad. The next step is to connect to one of these.
.gif)
Step 5: Embed the Paytable widget in Carrd
Grab your Paytable widget link and head into Carrd. Add an embed element and change the embed type to IFRAME. Paste in your Paytable link and then set the width and height to your liking. Click 'Done'.
Once you are all set, hit 'Save' and 'Publish' or 'Publish Changes'.
.gif)
That's it! You now you can sell access to your Airtable database!
.gif)

.png)